
Lowongan Kerja Di Alfamart Kelurahan Tuguraja Kota Tasikmalaya
Tidak dapat dipungkiri seiring berkembangnya waktu banyak yang masih kesulitan mencari pekerjaan. Di samping itu nyatanya beberapa pekerjaan dengan latar […]
Tidak dapat dipungkiri seiring berkembangnya waktu banyak yang masih kesulitan mencari pekerjaan. Di samping itu nyatanya beberapa pekerjaan dengan latar […]

Tidak dapat dipungkiri seiring berkembangnya waktu banyak yang masih kesulitan mencari pekerjaan. Di samping itu nyatanya beberapa pekerjaan dengan latar

Tidak dapat dipungkiri seiring berkembangnya waktu banyak yang masih kesulitan mencari pekerjaan. Di samping itu nyatanya beberapa pekerjaan dengan latar

Tidak dapat dipungkiri seiring berkembangnya waktu banyak yang masih kesulitan mencari pekerjaan. Di samping itu nyatanya beberapa pekerjaan dengan latar

Tidak dapat dipungkiri seiring berkembangnya waktu banyak yang masih kesulitan mencari pekerjaan. Di samping itu nyatanya beberapa pekerjaan dengan latar

Tidak dapat dipungkiri seiring berkembangnya waktu banyak yang masih kesulitan mencari pekerjaan. Di samping itu nyatanya beberapa pekerjaan dengan latar

Tidak dapat dipungkiri seiring berkembangnya waktu banyak yang masih kesulitan mencari pekerjaan. Di samping itu nyatanya beberapa pekerjaan dengan latar
Tidak dapat dipungkiri seiring berkembangnya waktu banyak yang masih kesulitan mencari pekerjaan. Di samping itu nyatanya beberapa pekerjaan dengan latar

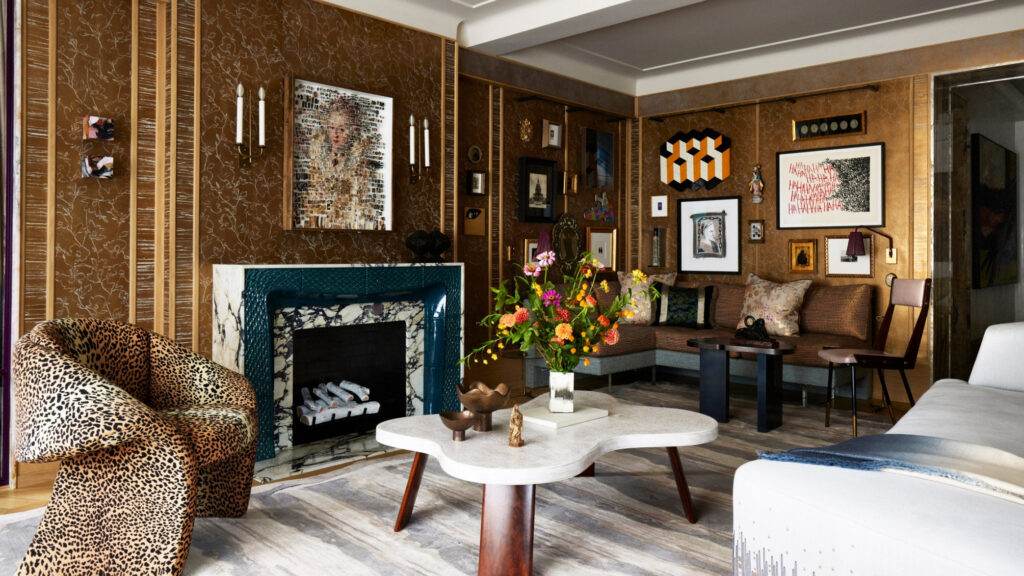
Creating a Stylish Haven: Unleashing Your Decorative Flair! Welcome to the world of home decor, where you can unleash your
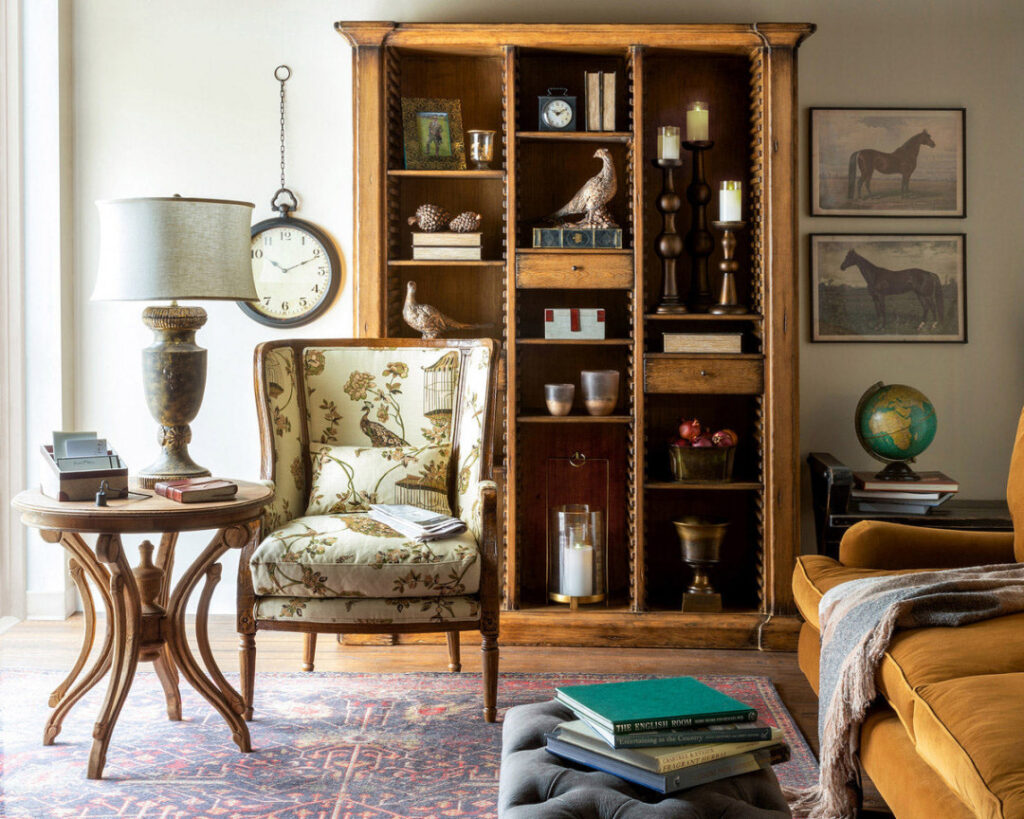
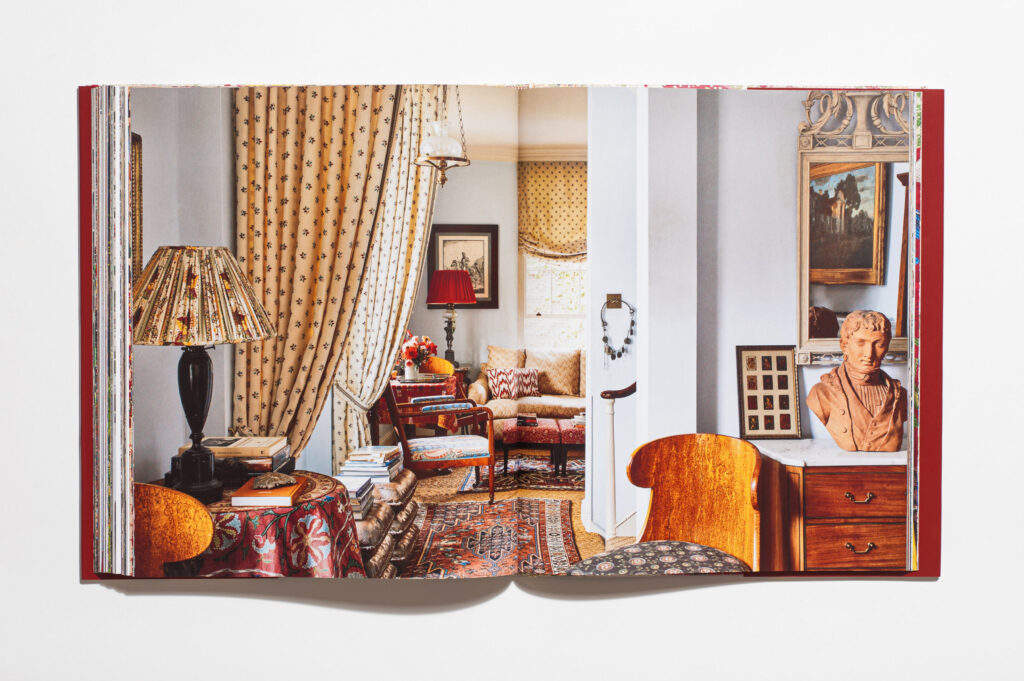
Timeless Treasures: Unearthing the Allure of Vintage Décor In a world where modernity seems to reign supreme, there is an

Whimsical Wonders: Transforming Spaces with H&S Delight! Enhancing Spaces: The Art of H&S Decoration Fire letter H Do you ever
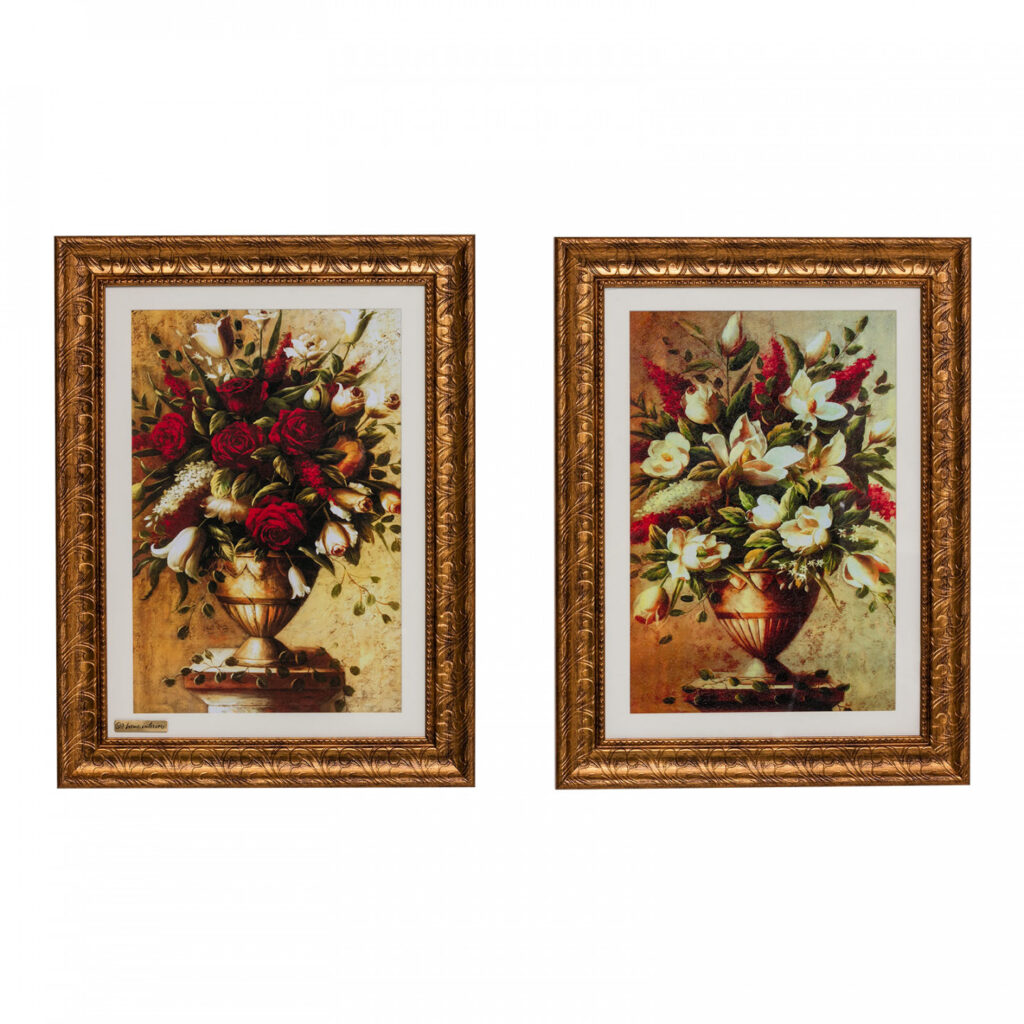
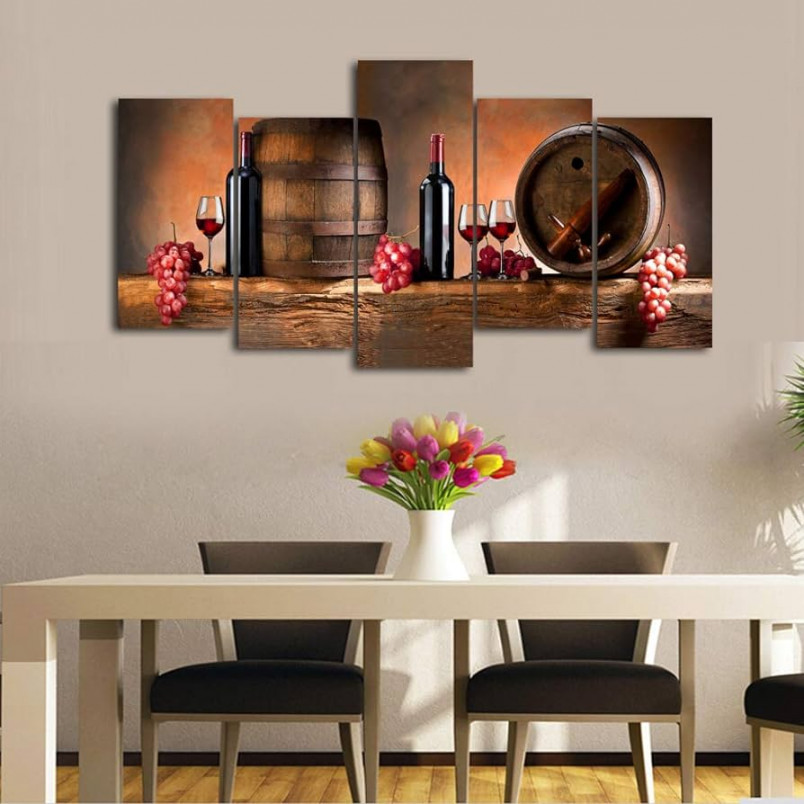
Unleashing the Hidden Magic: Transforming Spaces with Cuadros! Cuadros: Elevating Home Interiors with Artistic Brilliance – Framed Wall Art “Floral

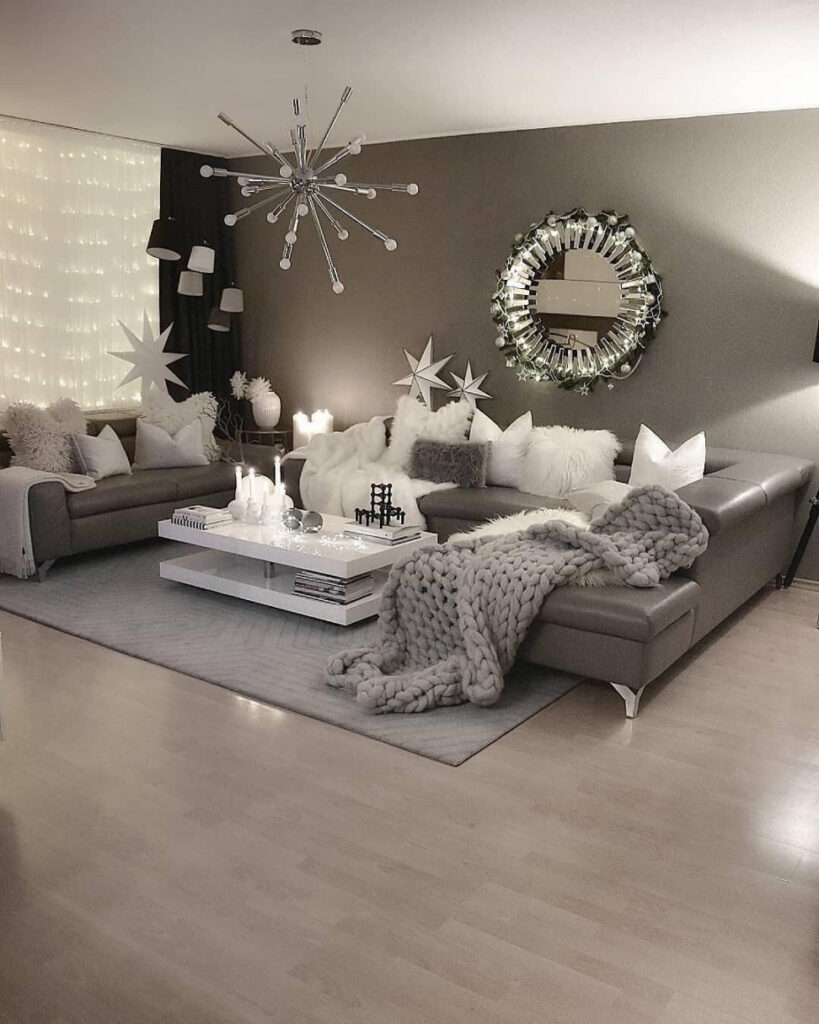
Delightful Decoras: 5 Ideas for a Magical Living Space Your living space is more than just a place to eat,
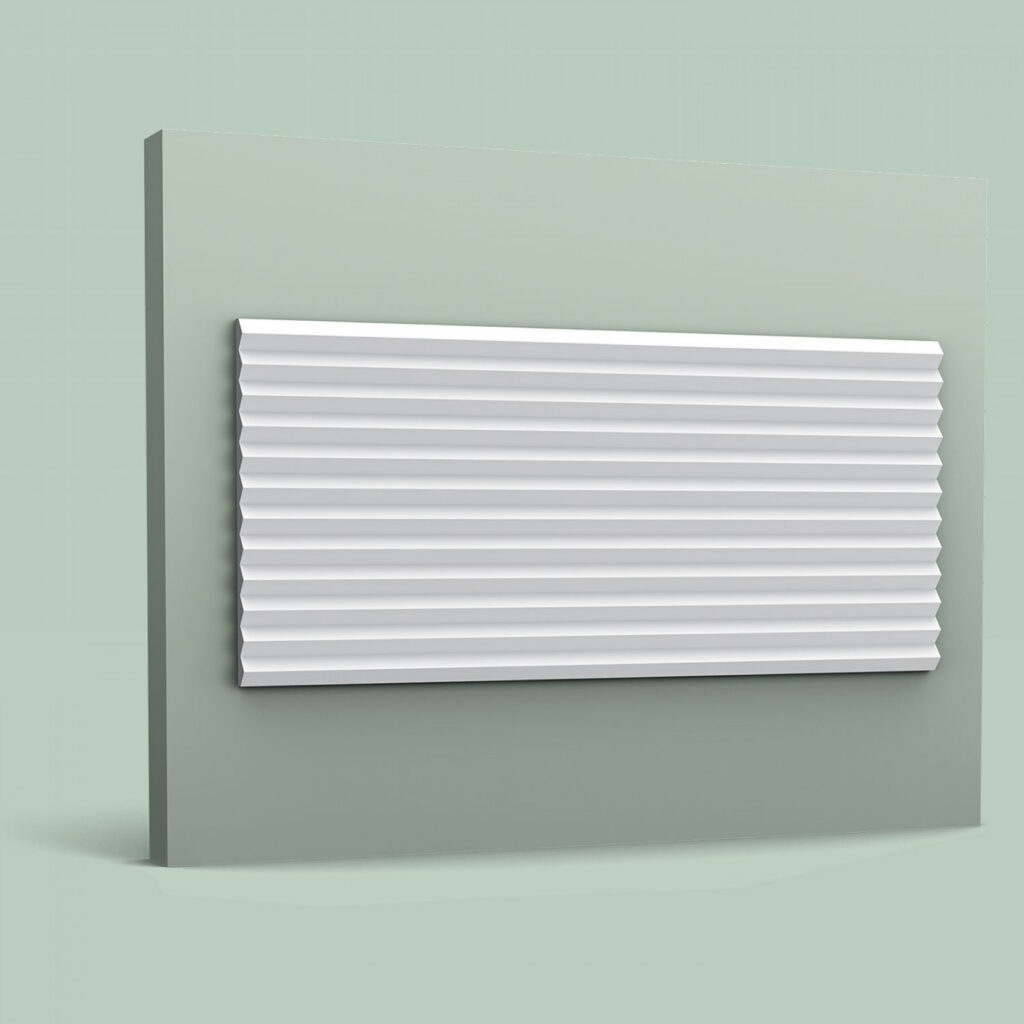
ORAC Zig Zag Algorithm: Unraveling the Secrets of Efficiency! Imagine a world where efficiency reigns supreme, where algorithms are the

Unleash Creativity: Modern Eben Decor for Artful Spaces! Are you tired of walking into your home and feeling uninspired? Do
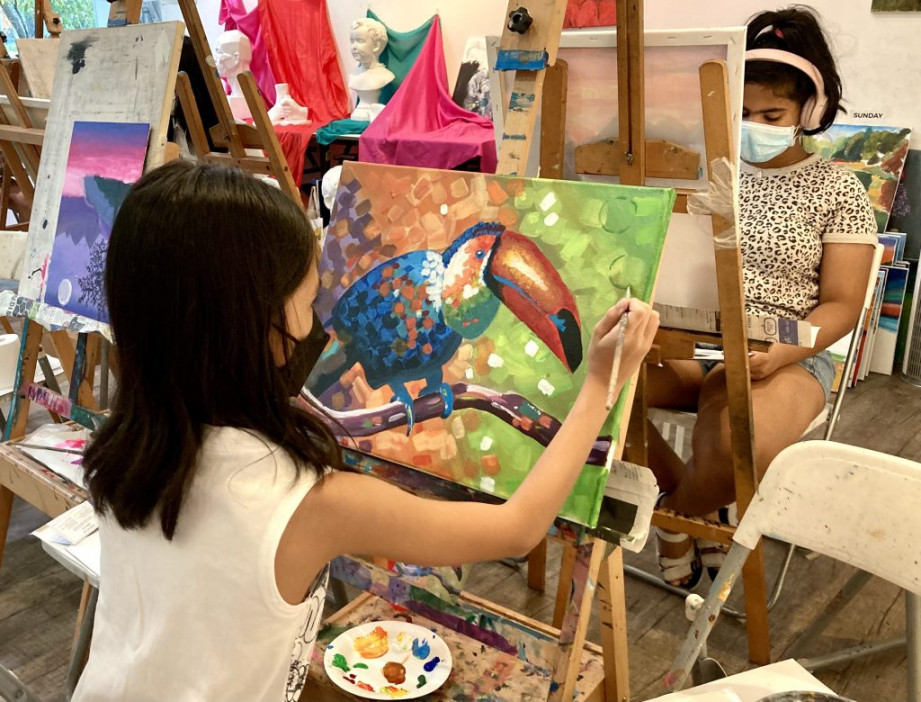
From Blank Canvases to Breathtaking Masterpieces The Beauty of Art and Decoration: Transforming Spaces with Creativity and Style Art Courses

Unleash Your Imagination: Enter the World of 3D Deco Magic! Are you tired of the same old, boring interior design

Delve into Festive Magic: The Enchanting World of Käthe Wohlfahrt! Step into a World of Enchantment When it comes to

Coco Deco: Unleashing Timeless Elegance to Transform Your Space! Are you ready to elevate your living space to a whole
Deco Delights: A Journey into the Glamour of Art Deco Design Unveiling the Artistry: Exploring the World of Deco Interior
Unleash Your Creative Flair: Aarman Decor’s Artistic Revolution! Are you tired of walking into a dull and uninspiring space? Do

From Blank Canvas to Blissful Oasis: Mastering the Decorlife Dance The Art of Creating the Perfect Decorlife: Unveiling Secrets to
Unleashing the Untamed: Dive into Decor Barbares! Embrace the Rustic Charm: Exploring the World of Decor Barbares Décors Barbares: The
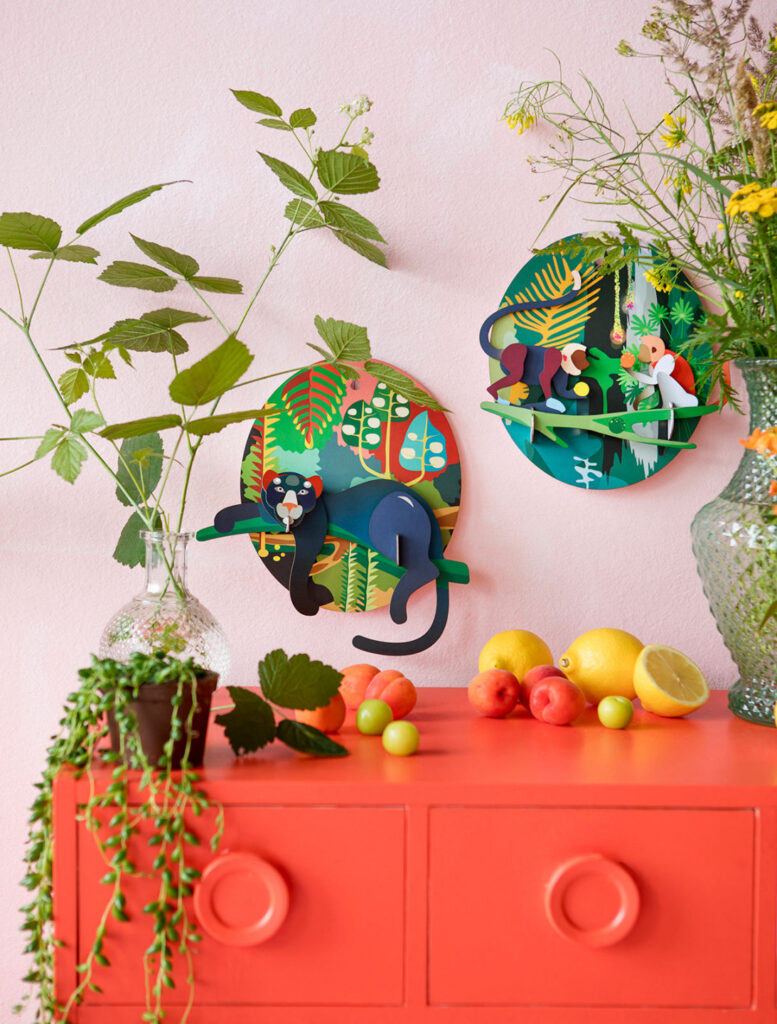
Unleash Your Inner Artist: Studio Roof’s Wall Decor Delights! Transform Your Space with Studio Roof: Elevate Your Wall Decor Game

Venecia Furniture: Where Beauty Meets Elegance When it comes to creating a beautiful and elegant home, the furniture you choose

Captivating Cuadros: Unveiling the Artistic Essence of Home Interiors’ Masterpieces Celebrating Artistry: Exploring the Timeless Beauty of Home Interiors’ Cuadros
Domtech: Revolutionizing Homes with Inventive Decor Solutions Are you tired of the same old boring home decor options? Do you
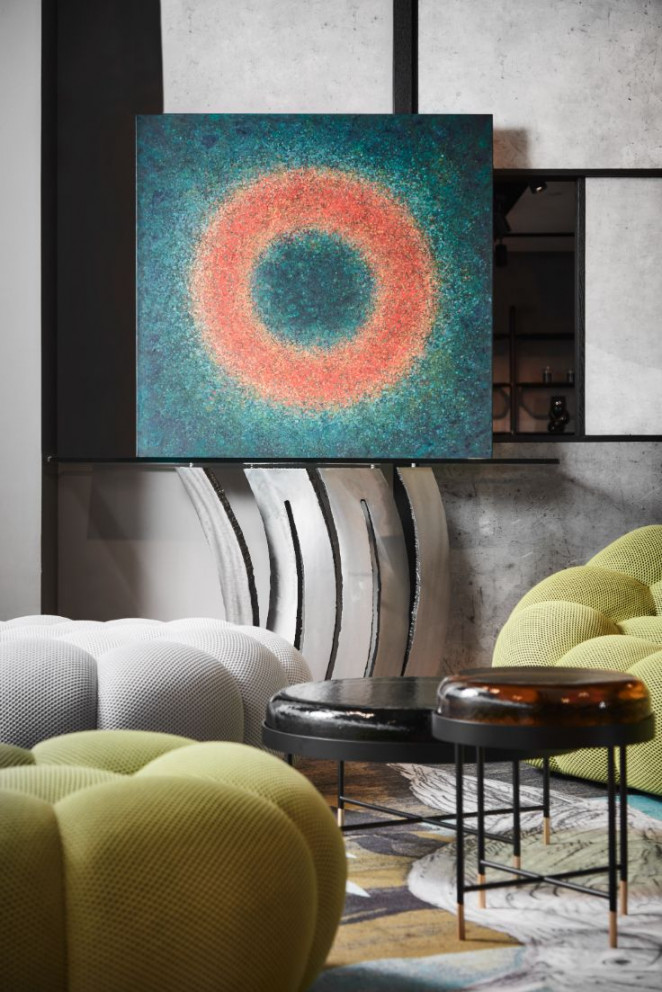
Luxurious Artistry: Elevate Your Space with Roche Bobois Wall Art Immerse Your Space in Elegance: Roche Bobois Wall Art Collections
Crafting Aesthetic Wonders: Dekor Art’s Creative Delights! The Beauty of Dekor Art: Elevating Spaces through Creative Expression Cao Gen Decor
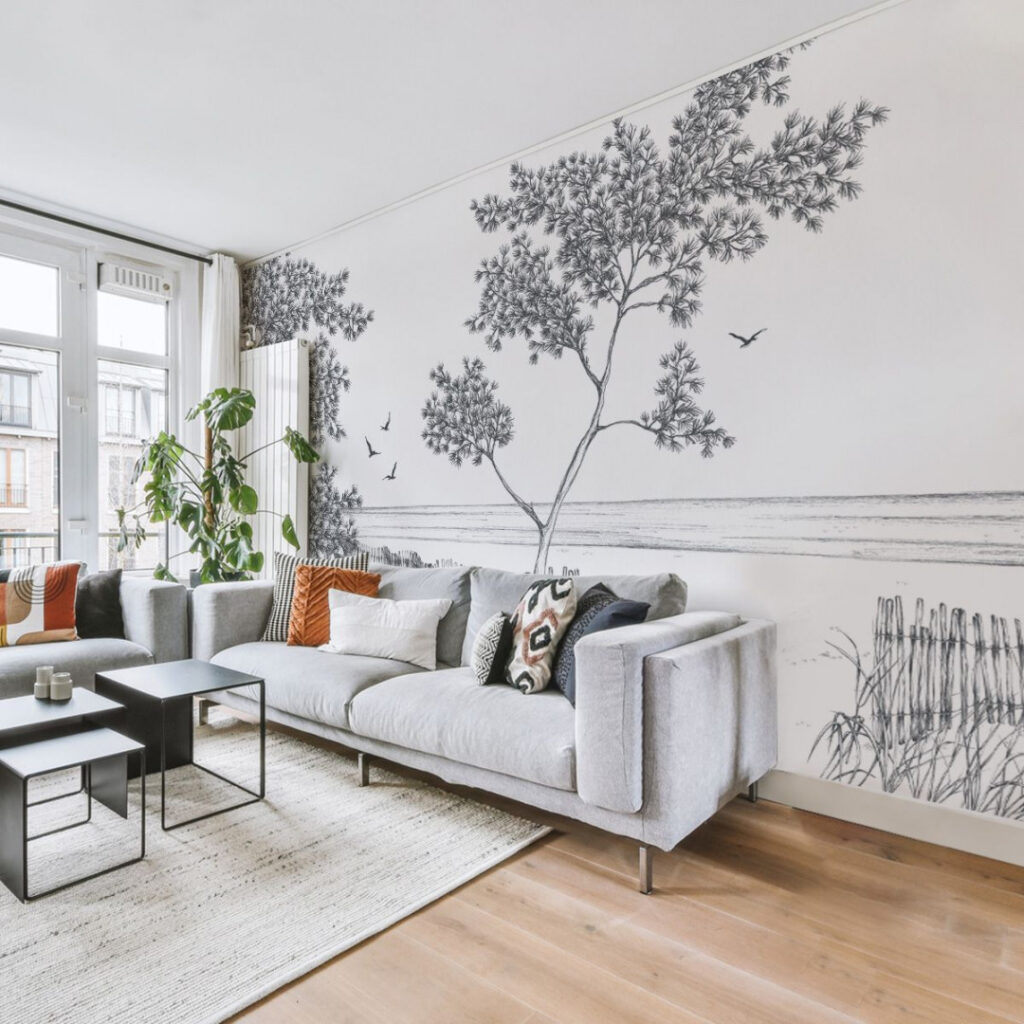
Unleash Creativity: Embrace the Beauty of Panoramic Wallcoverings! Have you ever walked into a room and instantly felt transported to